Himalayan Treks: What to Pack
When I was preparing for my first expedition, I scoured the internet for advice about what to pack. Even though I had a kit list from my provider, it was a daunting process. Now I know exactly what I want to have in my pack for any himalayan treks I do.
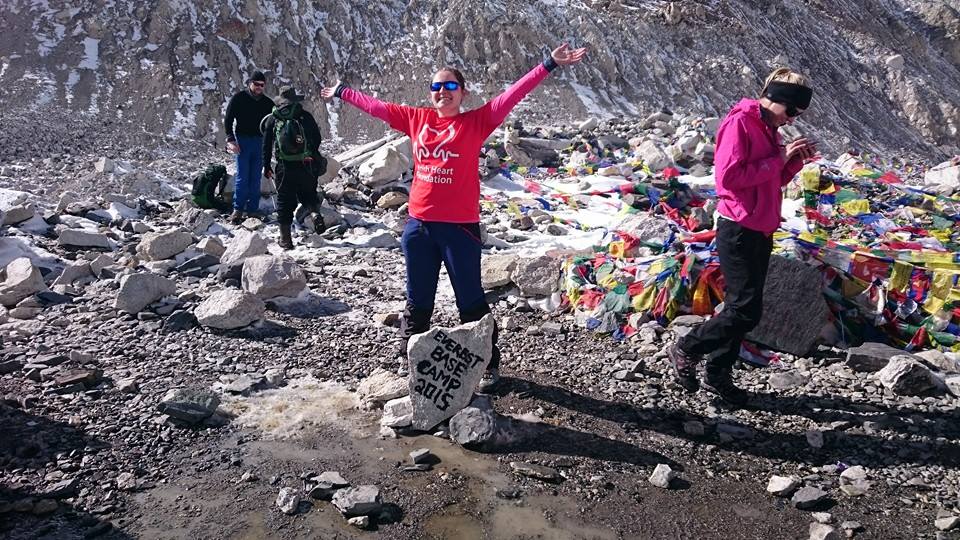
This is the kit list I have used for hiking both Everest Base Camp and Stok Kangri. I update this on a regular basis with any tips I’ve learned along the way, so you know it’s the perfect kit list for your expedition!

Note: Please do check out secondhand options such as eBay or Facebook marketplaces. Some things I have invested in are new, but it can get pricey, so I always try and buy second hand first!
Baggage
Large Kit Bag – Suitcases are not suitable, as they cannot be comfortably carried by porters or animals. For the below kit, you’ll need a 90-120 litre bag, with robust and waterproof fabric. Like this one.
Day Pack – A small backpack that must be comfortable to carry for long days, and fit all of your essentials (waterproofs, first aid kit, snacks, lunch). Also helpful if it is water-bladder compatible. I took quite a small backpack to EBC, only just squeezing everything in. I would going for around 35 litres.
Sleeping
Sleeping Bag – Must be minimum 3 season, ideally 4. Check the comfort temperature rating matches that of the expedition you are going on. Himalayan treks can be cold, so these details will make all the difference. Sleeping bags can be pricey, but I found mine on eBay!
Liner – A sleeping bag liner gives an extra layer of warmth. I use this fleece liner from Amazon. Some people prefer a silk liner. Of course silk is not as warm as fleece, however is much lighter to carry.
Clothing – Top Half
Layering is key here. My personal system consists of sports bra, long sleeve base layer, tshirt, fleece, down jacket, waterproof jacket. Sometimes I add in a light strappy top over my sports bra too.
T-Shirts – I like to have 3 t-shirts with me, for the average 2 week expedition. Merino wool is soft, comfortable and breathable. Sports fabric is great too as it’s quick drying and very light. Avoid cotton.
Base Layers – A couple of long-sleeve base layers are a must. They are designed to keep you cool or warm, depending on the temperature. My favourite is definitely my SubZero baselayer – I wrote a review of it here.
Fleeces – 2 x fleece layers. One for the day and another for at night. These don’t generally get soaked in sweat, so you shouldn’t need more than two.
Waterproof jacket – It needs to be windproof too, or the cold will nip right through you. Make sure you can fit it over your down jacket – you will probably need to size up, but do test it out first if you have a chance.
Down Jacket – Ask for advice in the store, so you understand the down ratings. New jackets can be super pricey, so look around. My first down jacket was a brilliant Karrimor one that I got second hand eBay for around a tenner!
Comfortable bra – This will be your best friend for the next 2+ weeks. Light and comfortable is key (i.e. no underwires!).
Clothing – Bottom Half
Trousers – One light pair (zip-off options are great) and one warmer pair. I cannot describe the love I have for my fleece-lined soft-shell trousers from Decathlon (similar to these). Super comfortable and a total bargain, they are my favourite walking trousers. I also like to bring a pair of leggings for warmer, lower-altitude days.
Waterproof Trousers – Much the same as the jacket, make sure these can comfortably fit over your thickest trousers. I’ve found price means nothing here – don’t bother spending your monthly wage on them. Just test their waterproof-ness before you go.
Breathable underwear – Yes, it’s a thing. And yes, I found out the hard way. Trust me, you don’t want to experience butt chafing. Merino wool or sports-designed underwear is best for wicking moisture. Moving on.
Nightwear
Thermal top and bottoms – If you have a decent sleeping bag, you don’t want to wear too many layers. Sleeping bags are designed to use your body heat to insulate. If you layer up, this stops that happening. Some people sleep naked – I find that too cold. I recommend some light thermals, a fleece and a hat. Thermals can be used during the day too, if it’s super cold.
Feet
Boots – Make sure your boots are well worn before you depart. This is KEY. Also, pay close attention to your itinerary. I have La Sportiva B2 boots that are crampon compatible, and have used these on all my himalayan treks. They are comfortable, warm and I love them. However, B2 boots can rub a little more, due to their sturdiness. So many trekkers prefer to bring two pairs of boots: a lighter pair for the approach, and B2 boots for any technical days. Your choice will highly depend on the environment you are going to and the technical skills involved in the expedition.
Socks – This is very personal, so experiment while you are training in your chosen boots. I like to have two pairs of socks on – liner socks then thicker hiking socks. I bring 2 or 3 pairs of liners, then a few pairs of mixed thickness hiking socks. These Bridgedale liners are amazing!
Camp shoes – Give your feet a rest of boots when you’re at camp. A light pair of trainers, comfortable sandals or crocs can all be good options here. I’m thinking of investing in some down booties for my next expedition, as they are DIVINE.

Electronics
Watch – My pink casio watch comes with me on every trip (even in the UK). It’s robust, waterproof and I’ve never yet had to change the batteries (had it for 5 years!). Useful for an alarm clock. Also means you can avoid using your phone for the time, as who the hell wants to look at their phone when you’re in the HIMALAYAS?!
Head Torch – Needed for: Getting back to your tent in the evening, night hiking and midnight pees.
Camera – Not optional, because you’ll be gutted to not have pictures of this phenomenal place! GoPros are small and powerful action cameras that are ideal for expeditions. I took my DSLR to Spain however found it to be quite heavy carrying up and down mountains. I’m experimenting with that!
Solar charger – Plug sockets and electricity are unreliable on himalayan treks. A solar charged power bank gives you reliable charging on the go. There are plenty pricey options, but I got this one on Amazon!
TOP TIP: Take spare batteries (especially for a GoPro) so one is always charged. Keep all batteries in your sleeping bag at night, as the cold can deteriorate them quickly!
Miscellaneous
Ankle Gaiters – I almost put these in optional, but I think everyone should take them. If you find yourself in deep snow or crossing a river, they will keep the bottom of your trousers and the tops of your boots from getting soaked.
Woolen Hat – Keeps your head cosy.
Hand protection – A thick pair of gloves are a must to protect your fingers from the cold, plus a pair of liners for added warmth. If you are heading quite high or you are prone to the cold, definitely get a pair of mitts. I never go on a winter hike now without liners and mitts.
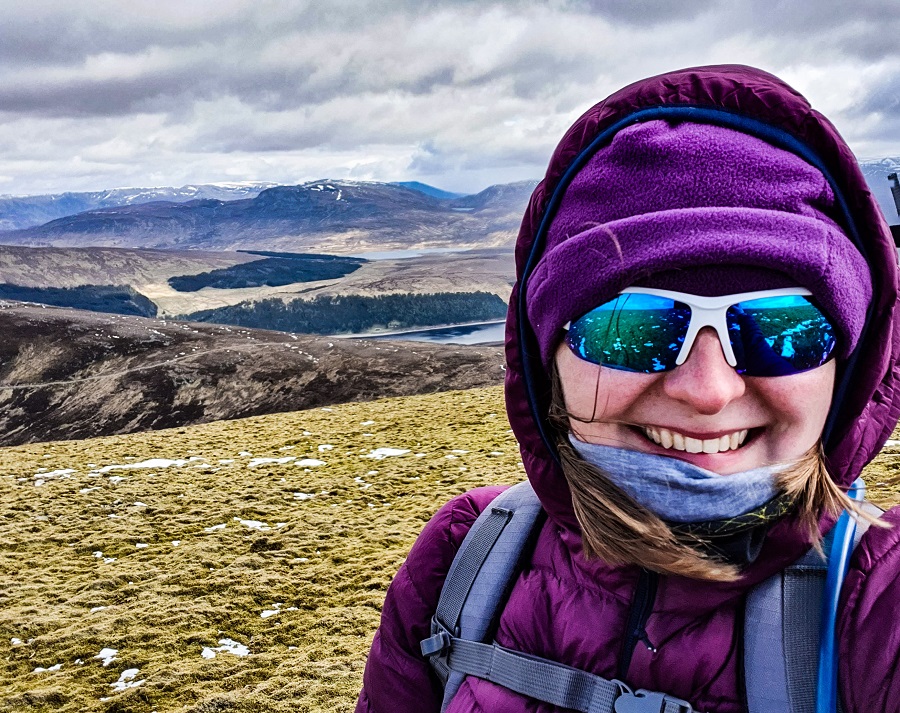
Eye protection – For most, a pair of good quality, high UV protection sunglasses will be enough. If you are going for a summit bid, ski goggles are worth the investment. The money spent on good eye protection is well worth it. I am a big fan of Bloc Eyewear, and have worn their sunglasses and goggles numerous times.
Water bottle & bladder – I recommend both. At altitude, you need to drink plenty of water to fight altitude sickness. Having a water bladder means you can drink on the move, without faffing for a bottle out of your bag. I originally had a very cheap, unbranded one, but it broke very quickly. So I eventually invested in a CamelBak. But the tubing can freeze. So take a bottle too, as you will need to hold boiled water each morning. A bottle also doubles as a hot water bottle in your tent at night! I recently bought an EcoFlask bottle that is super light and keeps my drinks warm (even when rolling down a snowy mountain!).
Buff – Hikers can never have too many buffs! There is so much you can do with them! On himalayan treks, they are handy to keep your face warm and shield from dusty tracks.
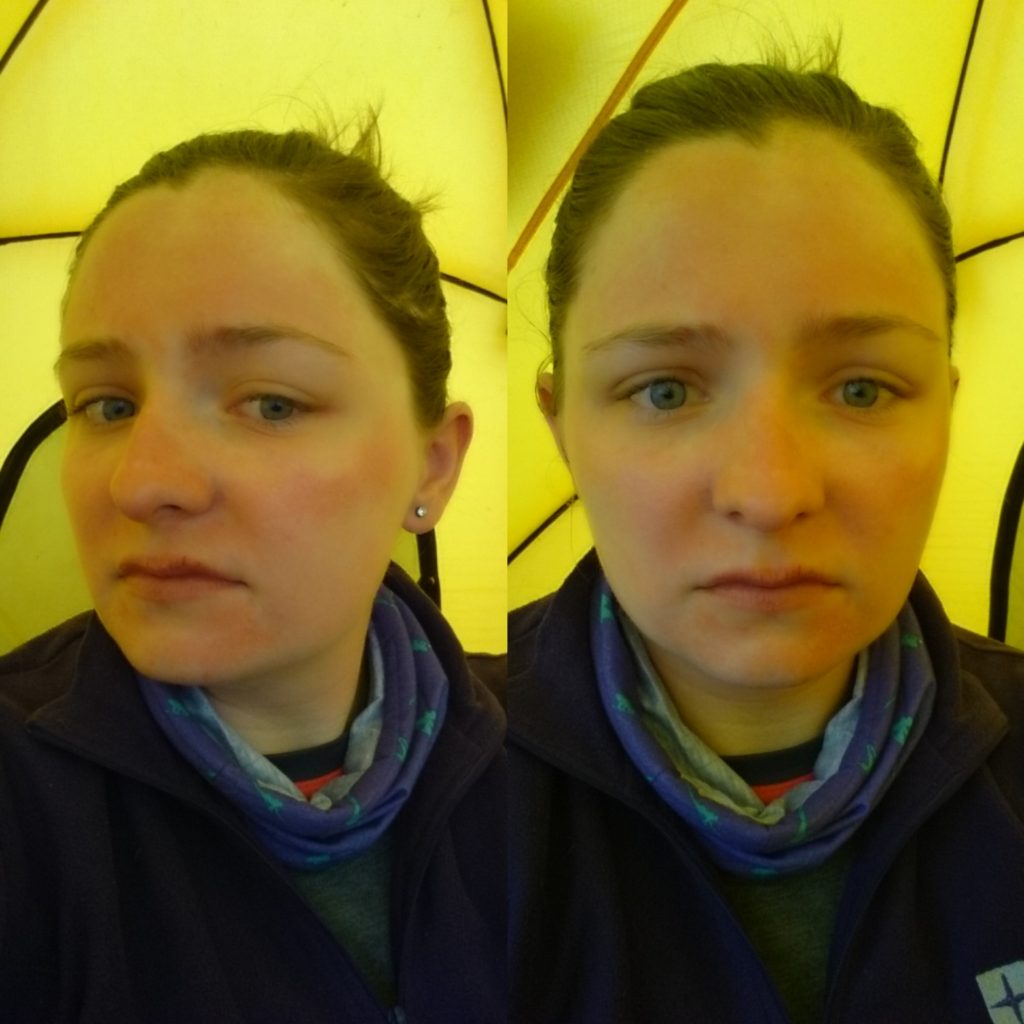
High factor sun cream – I cannot stress this more. High altitude = stronger sun rays. I took factor 50 sun cream to Nepal. Designed for snowy, high-ray environments and I applied it liberally all day, every day. Must have been a dodgy tube, as the below sunburn pictures show. I’ve had serious issues with dry lips ever since. So I reiterate: BUY DAMN GOOD SUNCREAM AND WEAR LOTS OF IT.
Snacks – If you are trekking with a provider, they will likely be providing lunches and snacks (but do check). Still bring some of your home faves though. For energy, mostly. And when the altitude is getting to you, a comforting Cadburys bar can be a huge pick me up. It’s the only time I buy chocolate for a hike!
First aid kit – Personal choice of its contents, but must include: plasters, blister plasters (Compeed are king), diarrhoea tablets (+ electrolyte sachets), ibuprofen/paracetamol.
Dry bags – Keep your kit dry. You can use resealable plastic bags, but if possible, always best to avoid single use plastics! Bloc eyewear produce brilliant drybags.
Toiletries – Only bring the essentials. You think you’ll use dry shampoo, but you won’t. Do bring baby wipes though, as an in-tent shower option.
Toilet roll – For toilet stops in between camps. Nappy bags too, for your toilet paper.
TOP TIP: Do you research about altitude medicines before you go. Many hikers take Diamox. But there are mild side effects and it only works for 50% of folk. Importantly, if you do develop symptoms, you cannot then have Diamox administered, if you are already taking it. I personally do not take any altitude medicines.
Optional
Pillow – Many outdoor stores sell roll up pillows that are light and compact for expeditions. I personally just roll up some clothes, but I know pillow comfort can be a bottom line for some people!
Walking poles – A personal preference, but they are huge energy savers for both uphill and downhill, which is priceless when at altitude.
Wide-brimmed hat – Highly recommended by providers. But I had to be honest and put it in optional. Because I HATE them and never use them. However, they are great for protecting your face and neck from the sun.
Hand warmers – Self explanatory. Make cold nights in a tent much more comfortable.
Post-expedition clothes – If you have the opportunity to leave a bag in a hotel, where you will be returning after your expedition, leave some fresh clothes. These will feel
Notebook and pen – Take a note of your thoughts! It’s amazing to read back once it’s over and reminisce.

Have fun on your trip, and make sure you check your providers kit list for any specific items! I have a whole page dedicated to altitude, training, other useful information for your Himalayan treks too. If you have any gear questions that I’ve not answered, leave a comment or connect with me on Instagram – I am always happy to chat!
Make sure you’re subscribed to my newsletter, or if you’re a regular reader, help fund my writing by buying me a coffee!